GoCardless is a popular payment platform allowing the merchants to collect customer payments directly from the customer’s bank account in New Zealand, Sweden, UK, Australia, Eurozone, and Denmark.
The payment method is available for the customers, who live in SEPA (Single Euro Payments Area) nations including Belgium (BE), Austria (AT), Switzerland (CH), Czech Republic (CZ), Cyprus (CY), Bulgaria (BG), Estonia (EE), Denmark (DK), France (FR), Finland (FI), United Kingdom (GB), Germany (DE), Croatia (HR), Greece (GR, Ireland (IE), Hungary (HU), Italy (IT), Iceland (IS), Latvia (LV), Liechtenstein (LI), Lithuania (LT), Malta (MT), Luxembourg (LU), Netherlands (NL), Monaco (MC), Poland (PL), Norway (NO), Portugal (PT), Sweden (SE), Romania (RO), Slovenia (SI), San Marino (SM), Spain (ES), Slovakia (SK) and others.
GoCardless benefits the customers residing in the above mentioned nations, but this payment platform can be used by the merchants which have billing addresses in Ireland, United Kingdom, Austria, Denmark, Germany, Luxembourg, Spain, Australia, Sweden, Finland, Belgium, Netherlands, or France.
Why is GoCardless Payment Gateway a better option?
- It is a highly secure and trusted payment platform
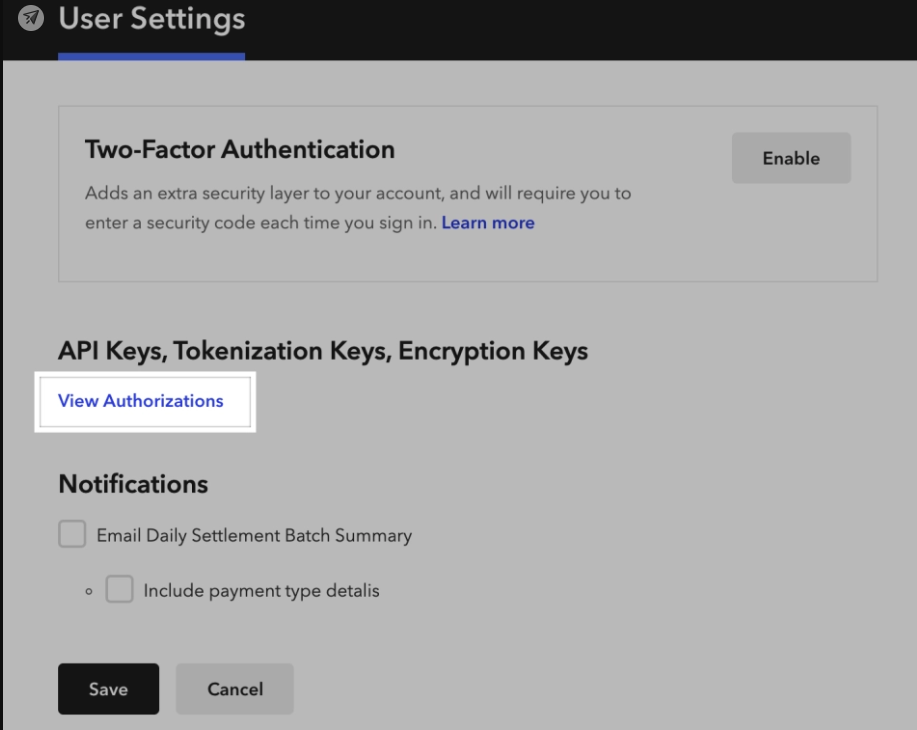
- It doesn’t requires integration of API keys
- Facilitates the online sellers with GoCardless Sandbox which eases the testing process.
- Allows individuals to maintain a copy of transaction details for reference.
Requirements
- A WooCommerce 3.5.0 version
- Account (should be registered in the name of the Merchant)
- A verified SSL certificate (for the users who want to use payment checkout form).
Registering or Logging In To GoCardless Account
For using GoCardless merchants need either a new account or an existing GoCardless account. Log in to your account following the below listed steps –
- Open gocardless.com in your browser
- Click “Sign Up Now”
- Fill in all the necessary fields
- Click on “Create Account”

What plugin is used for GoCardless Gateway?
The plugin for WooCommerce GoCardless Gateway payment can be downloaded through this link.
Setting up and Configuring WooCommerce GoCardless Gateway
Sign in to your WooCommerce dashboard i.e. to the backend dashboard of your shop.

- Click on WordPress Admin > Plugins > Add New > Upload Plugin. You may use the downloaded file here by selecting “Choose File”. Next, click on Install Now > Activate for enabling the extension.
- Find the dashboard in your account and select WooCommerce > Settings > Payments. Now enable “GoCardless Direct Debit” and then click on “Set Up”. With this step merchants are redirected to GoCardless Direct Debit settings option.

- Now click on the “Connect with GoCardless” option.

- Sign in to the GoCardless account using your credentials. Create an account if you aren’t registered yet at the platform.

- Once you sign in successfully you’ll find a notification authenticating the sign in process.
- Click on the “THAT’S MY SITE – REDIRECT ME” button.

- You’ll find a URL next to Webhook Secret sandbox towards the bottom of the page. Copy this URL.

- Now, click on “here”. The site will open a new window where you’ll need to give the following details –
-
- Name – Fill in your full name in the given space
- URL: Here you need to paste the link copied at Step 8.
- Secret String: Select a string of your choice. Make sure to take a note of it for future reference.
- Select or Deselect Webhook client certificate.
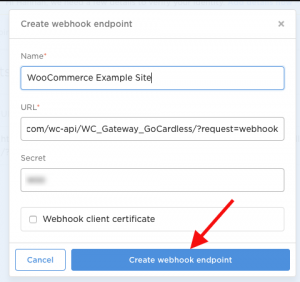
- Click on “Create Webhook Endpoint” option
- Now close the “create webhooks endpoints” window
- Go to Direct Debit (GoCardless) and find settings option on your site
- Next, fill in the secret string (created at step 9)
- Click “Save changes”.
Setting up GoCardless Direct Debit
Complete the configuration process of your GoCardless payment gateway as directed below –
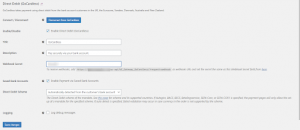
- Tick on Direct Debit (GoCardless).
- Add “Title” in the given space. Specify a name that you want the customers to see on the checkout page.
- Next fill in the “Description” – it will be displayed before the users on checkout. Take the default description in the picture above as your reference.
- Now select “Direct Debit Scheme” from the given dropdown menu. Refer to the default settings in the image above.
- Enable ‘Log debug messages’ – you can use it to troubleshoot issues as and when required.
- Finally, click on “Save changes”.
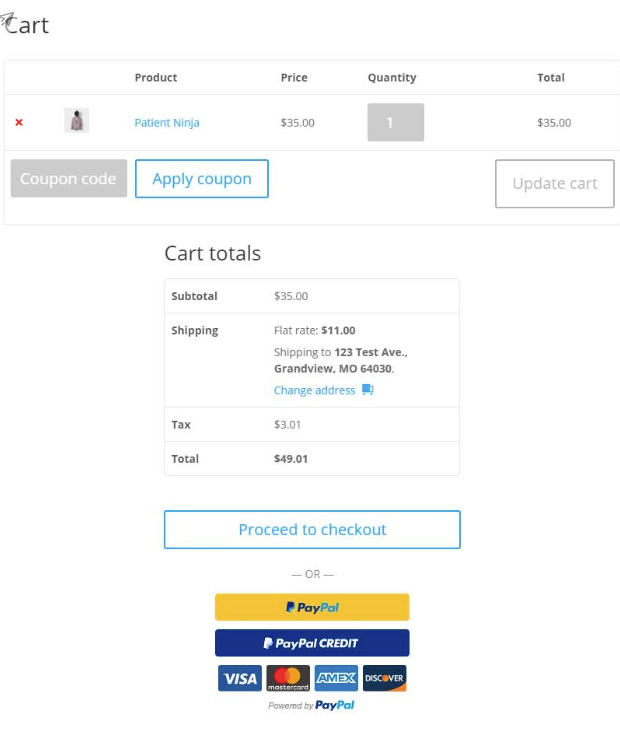
Flow Work Checkout Process
- Choose a product from the list featured on your website
- Now select “Add To Cart” option
- Next click on View Cart” option
- Select “Proceed to checkout”
- Fill in all the required information
- Choose the Direct Debit option and then click on “Place order”. You will access the payment form where you need to click on “set up a direct debit”


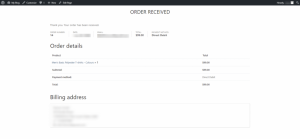
Once the info is validated the customer will be redirected to the confirmation page.

Finally, you’ll reach the ‘order received’ page.
Conclusion
GoCardless Gateway extension integrates the direct-debit payment gateway with the merchant’s WooCommerce site. The platform has payment collection easier than ever, indeed. For the WooCommerce store owners looking for Gocardless gateway integration services, WPCustomify could be a perfect option.