A WooCommerce payment gateway not showing at checkout is one of the few store faults that costs you money by the minute. The buyer has picked a product, filled in their address, and reached the point of paying. Then the payment box shows up empty. Or it offers one method, and not the one they wanted. So they leave.
The odd part is that the gateway looks fine in your admin. It is on, the keys are saved, and the settings page shows no warning. So why does it not reach the buyer? Almost always, WooCommerce runs a check at checkout time and the gateway fails it in silence. This guide shows you how to spot which check is firing, before you change a single setting.
Why Your WooCommerce Payment Gateway Is Not Showing: Start Here
Five separate faults all produce the same empty payment box. The fixes have almost nothing in common. Guessing wastes an afternoon. Two minutes of checking narrows it to one.
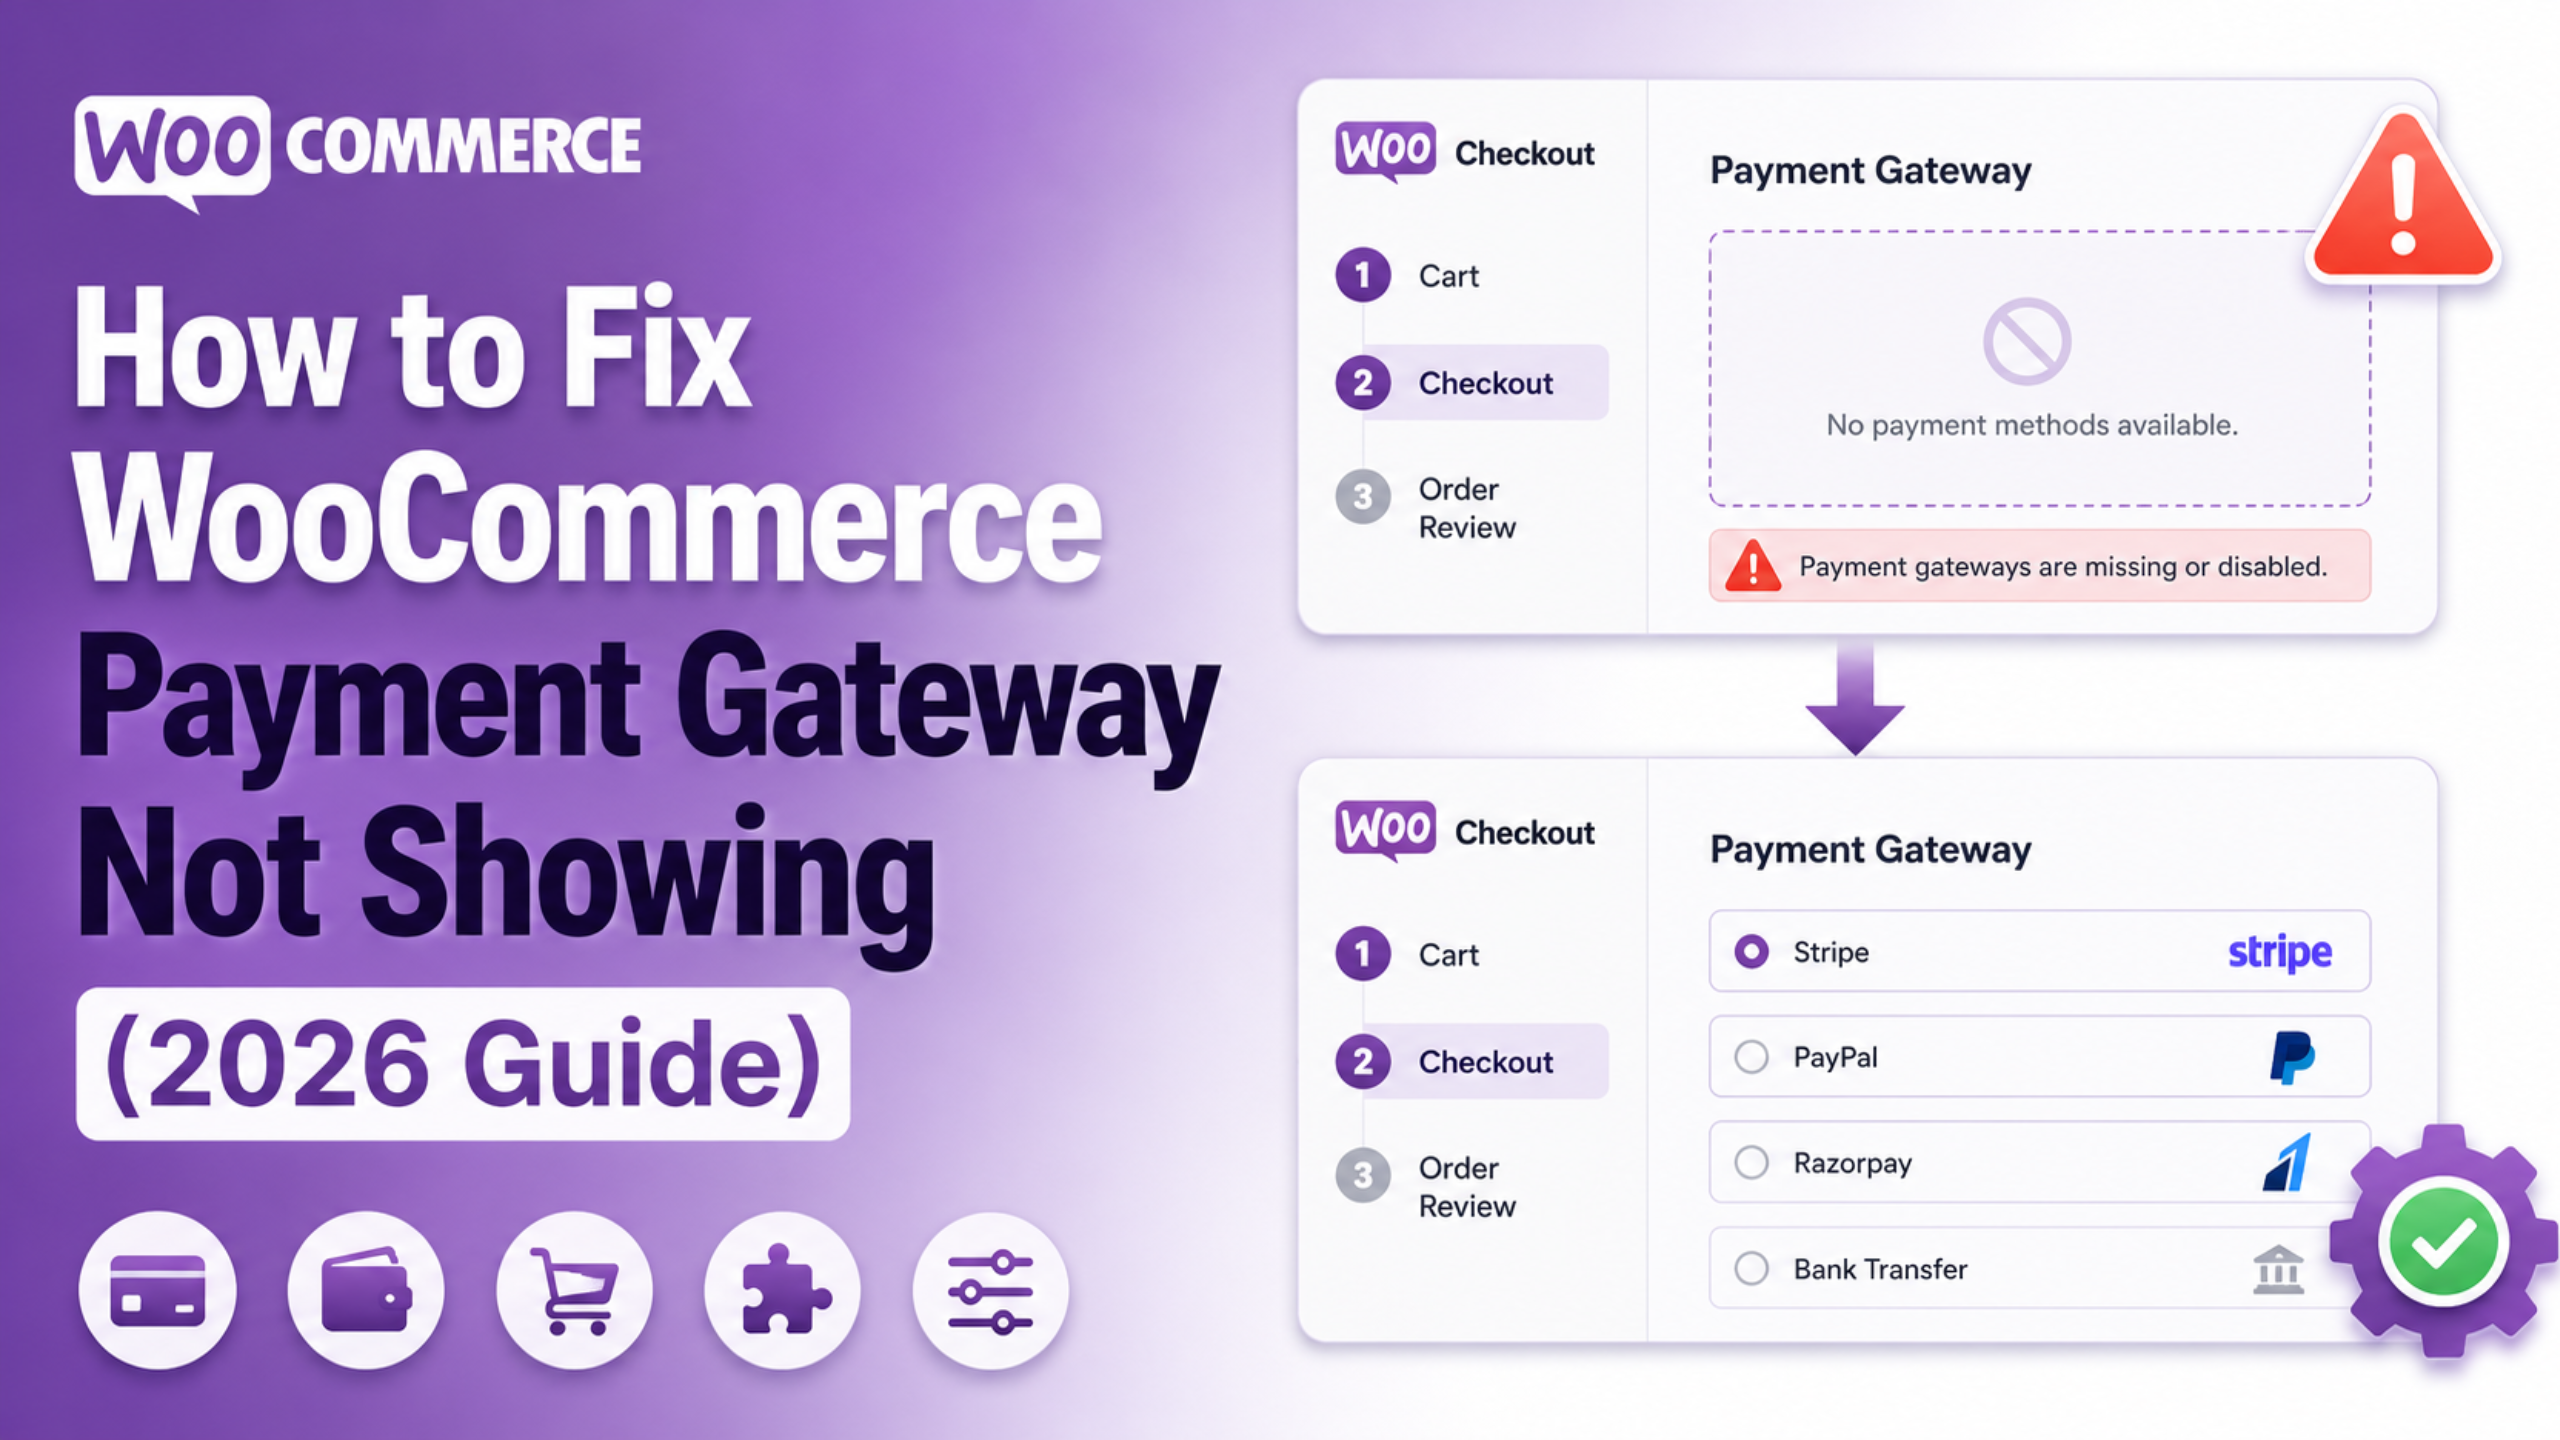
Start with the error text itself. The wording tells you a great deal. On a classic checkout page you will see “Sorry, it seems that there are no available payment methods for your state. Please contact us if you require assistance or wish to make alternate arrangements.” That means WooCommerce checked your gateways and each one turned down the cart or the address. The gateway is installed and running. Something is ruling it out.
On a block checkout you will more often see “There are no payment methods available. This may be an error on our side. Please contact us if you need any help placing your order.” That wording points somewhere else. It tends to mean the gateway never signed up with the block checkout at all. That is a plugin fit problem, not a settings problem.
Now check whether the gateway shows for anyone at all. Open your store in a private window. Add a cheap boxed product. Enter an address inside your own country. Does the method show for that cart but not the first one? Then the cart or the address is the trigger. Skip to the parts on selling location and cart rules. Does it show for nobody? Then work through the next two parts first.
Confirm the Gateway Is Enabled and Fully Configured
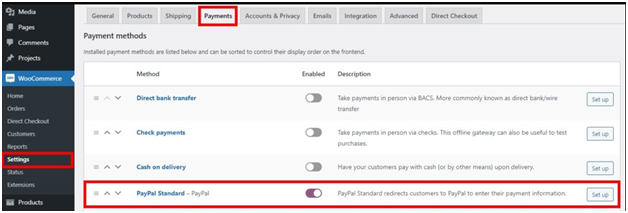
Go to WooCommerce → Settings → Payments. This screen lists each gateway with a toggle beside it. A gateway that is installed but toggled off will never show at checkout. That toggle resets more often than people think. It happens most after a plugin is turned off and on again during a fix.
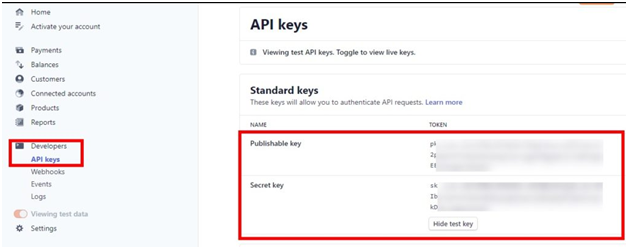
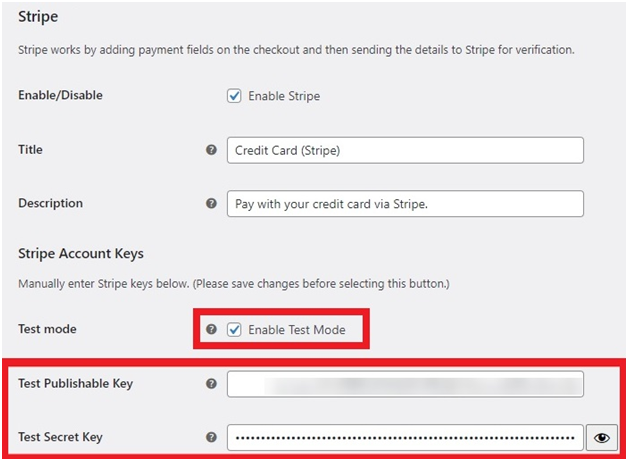
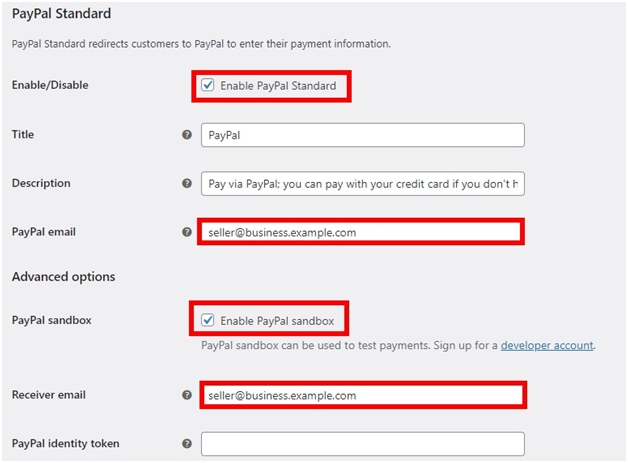
Turning it on is not enough on its own. Click Manage or Set up beside the gateway. Read that settings screen with care. Most gateways refuse to serve buyers until every key field is filled. Many still read as enabled in the list while they quietly hide. The cause is a blank API key, or a link that has run out.
Check three things on that screen. First, make sure the gateway is not left in test or sandbox mode. Some gateways hide from live buyers in that mode. They show only for a logged-in admin. Second, check that the account link still reads as active, not lapsed. Tokens do run out. Third, look for a “method title” field left blank. On a few gateways that yields an option with no label, which no buyer can click.
Is the gateway missing from the Payments list at all? Then the fault sits upstream. The plugin is either switched off, or it is on but failing to sign up. That tends to mean a version clash. Check Plugins → Installed Plugins. Make sure it is both active and up to date.
Selling Location, Currency and Country Restrictions
This is the top cause of a gateway that works fine for you and never shows for one buyer. WooCommerce screens gateways against the billing address. Gateways also screen themselves against the regions they cover.
Open WooCommerce → Settings → General and find Selling location(s). Is it set to “Sell to specific countries”? Then a buyer whose country is off that list gets turned away. Set it to Sell to all countries for a moment and test the failing address again. If methods show up, you have found it. Now add back only the countries you want. Do not leave the store wide open.
Check the store currency on the same screen. Many gateways cover a fixed set of currencies. If yours is not on that set, they pull out in silence. This one tends to bite right after a store opens a new market. No gateway setting changed, so nobody thinks to look at currency.
Some gateways also hold their own country rules, set apart from the store-wide one. Look for a field named “accepted countries” or “allowed billing countries” on the gateway’s own screen. A rule set there beats any open setting you made across the store.
Block Checkout Versus Classic Checkout
This has become the top cause of the problem. It is also the one people spend longest on, because every setting looks right.
The block checkout does not read gateways the way the classic shortcode checkout does. It talks through a separate layer. A gateway must be built for that layer to show up in it. A plugin not updated for block checkout works fine on a classic page and stays hidden on a block one. No error is logged anywhere.
To test this, make a new page. Add nothing but the shortcode [woocommerce_checkout]. Publish it. Set it as your checkout page under WooCommerce → Settings → Advanced. Now run a test order. Does the gateway show on the shortcode page but not the block page? Then you have your cause.
From there you have two honest choices. Update the gateway plugin. Most have added block support by now, and an old version is the usual reason. Or keep the classic checkout page until the developer ships support. Do not force a gateway into the block checkout with custom code. A method that shows but does not charge is far worse than one that never shows. Our guide on testing WooCommerce checkout and payments covers how to check either setup before you put it live.
Cart Conditions That Silently Disable Gateways
A gateway can be on, set up right, and still pull out based on what is in the cart. These rules are real. They are there by design. And not one of them gives you a warning.
The clearest case is a cart worth nothing. When a coupon drops the order total to zero, WooCommerce has nothing to charge. So payment methods vanish, and the button switches to place the order straight away. Buyers report this as broken checkout when it works just as it should. If your discounts are acting up here, our article on common checkout process issues in WooCommerce is a useful companion.
Order limits are the next cause, both the low and the high end. Plenty of gateways hold these limits in their settings. A cart outside that range makes the method pull out with no message. Has your store added a low-priced product of late? Then this is a strong bet.
Product type counts too. Some gateways stick to boxed goods, or to carts that need shipping. Others rule out plans that bill again and again. So a cart of downloads alone can show a different set of methods than a cart with one boxed item in it.
Shipping setup can spill into payments as well. If no shipping method fits the buyer’s address, some checkouts stop before the payment step is drawn at all. That looks just like a payment fault. So check shipping first, using our guide to shipping methods not showing at checkout.
Caching and an Empty Payment Section
Checkout changes per buyer, so it should never be cached. But cache layers are greedy, and a bad setup is common. The sign is clear. The payment box flashes up and vanishes. Or it shows options that do not match your settings. Or it works for you and fails for everyone else.
That last one is the giveaway. Most cache tools skip the cache for logged-in users. So if checkout works when you are logged in and fails in a private window, suspect the cache first.
Leave the cart, checkout and account pages out of every cache layer you run. There are usually several. A plugin. A server cache from your host. Often a delivery network too. Skip the plugin cache alone and the host still serves old pages. You then get a fix that works now and then, which is worse than no fix at all. Purge every layer after the change. Test again in a fresh private window.
Isolating a Plugin or Theme Conflict Safely
If nothing above fixes it, some code is editing the list of gateways. WooCommerce offers a filter that lets any plugin add or drop payment methods. Currency switchers, checkout field editors, fee tools and role-based pricing tools all use it for good reason. One of them may be dropping more than it should.
Do not switch plugins off one by one on a live store during trading hours. Copy the site to a staging server first. If you have no staging, use a health-check tool. It turns plugins off for your own session only, and leaves buyers alone.
On staging, switch off all plugins but WooCommerce and the gateway. Then move to a default WordPress theme. Test checkout. If methods show, turn plugins back on in batches of five. Test after each batch. Then narrow down inside the batch that fails. This finds the clash in about six tests, not thirty. Once you name it, check for an update before you drop the plugin. Clashes like this are often fixed in a release the store never took.
Turn on WooCommerce → Status → Logs while you test. Gateways often log the exact reason they pulled out. That reason never reaches the buyer message. Reading one line there can save you the whole hunt. The Status screen also flags old templates and failed database updates. Both can break how checkout is drawn. If orders are reaching checkout but failing after that, our guide to errors preventing order completion covers it.
Keeping Payment Methods Visible After Updates
A WooCommerce payment gateway not showing is nearly always the result of a change, not bad luck. A few habits stop most repeats.
Keep your stack current. WooCommerce now expects WordPress 6.9 or newer, PHP 8.3 or 8.4, MySQL 8.0 or MariaDB 10.6, and at least 256 MB of PHP memory. Gateways drop old versions faster than most plugins do. They are bound by card industry security rules, not by choice.
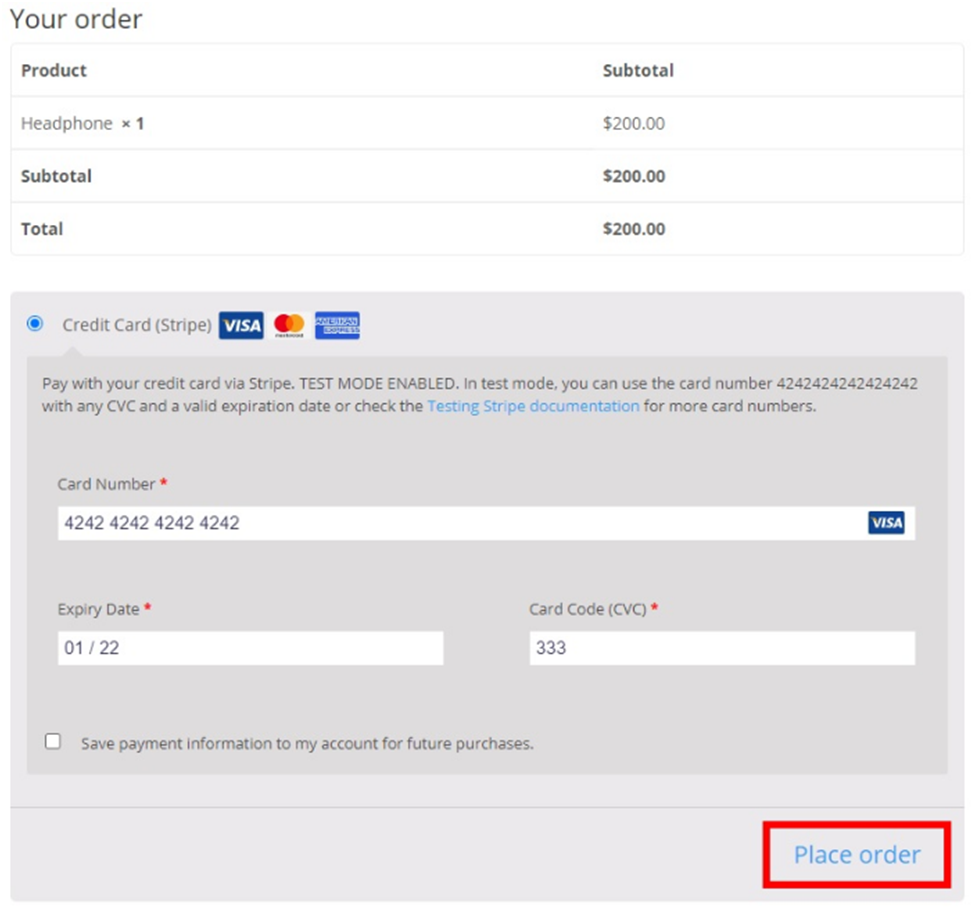
Test checkout after every WooCommerce update and every gateway update. Not now and then. Place one real low-value order through each method you offer, then refund it. Reading a settings page proves nothing. That page is exactly what looks right while the gateway stays hidden.
Last, watch for silence. A method that vanishes throws no error and raises no ticket. All you see is a slow drop in orders through it. Check your order reports each month for a method whose share has hit zero. That pattern is nearly always a gateway that stopped showing weeks ago and went unseen.
Get Expert Help With Your WooCommerce Checkout
A checkout that cannot take payment is the costliest fault a store can have. The causes sit across settings, plugin fit, caching and server setup. Working through them on a live store while orders fail is stressful and easy to get wrong. One missed cache layer, or one country rule you did not spot, keeps the fault alive after all else is fixed.
Maybe your payment methods will not show. Maybe checkout broke after an update. Maybe you need a store moved to block checkout without losing a gateway. Our WooCommerce team works all three out on a staging copy, then ships the fix with no downtime. Visit WP Customify to talk to our team about your checkout. Tell us the exact message buyers see, and which methods are missing. We can often name the cause before any work starts. And we will say so plainly if the fix is a five-minute setting change you can make yourself.