What Is the WooCommerce Out of Stock Issue?
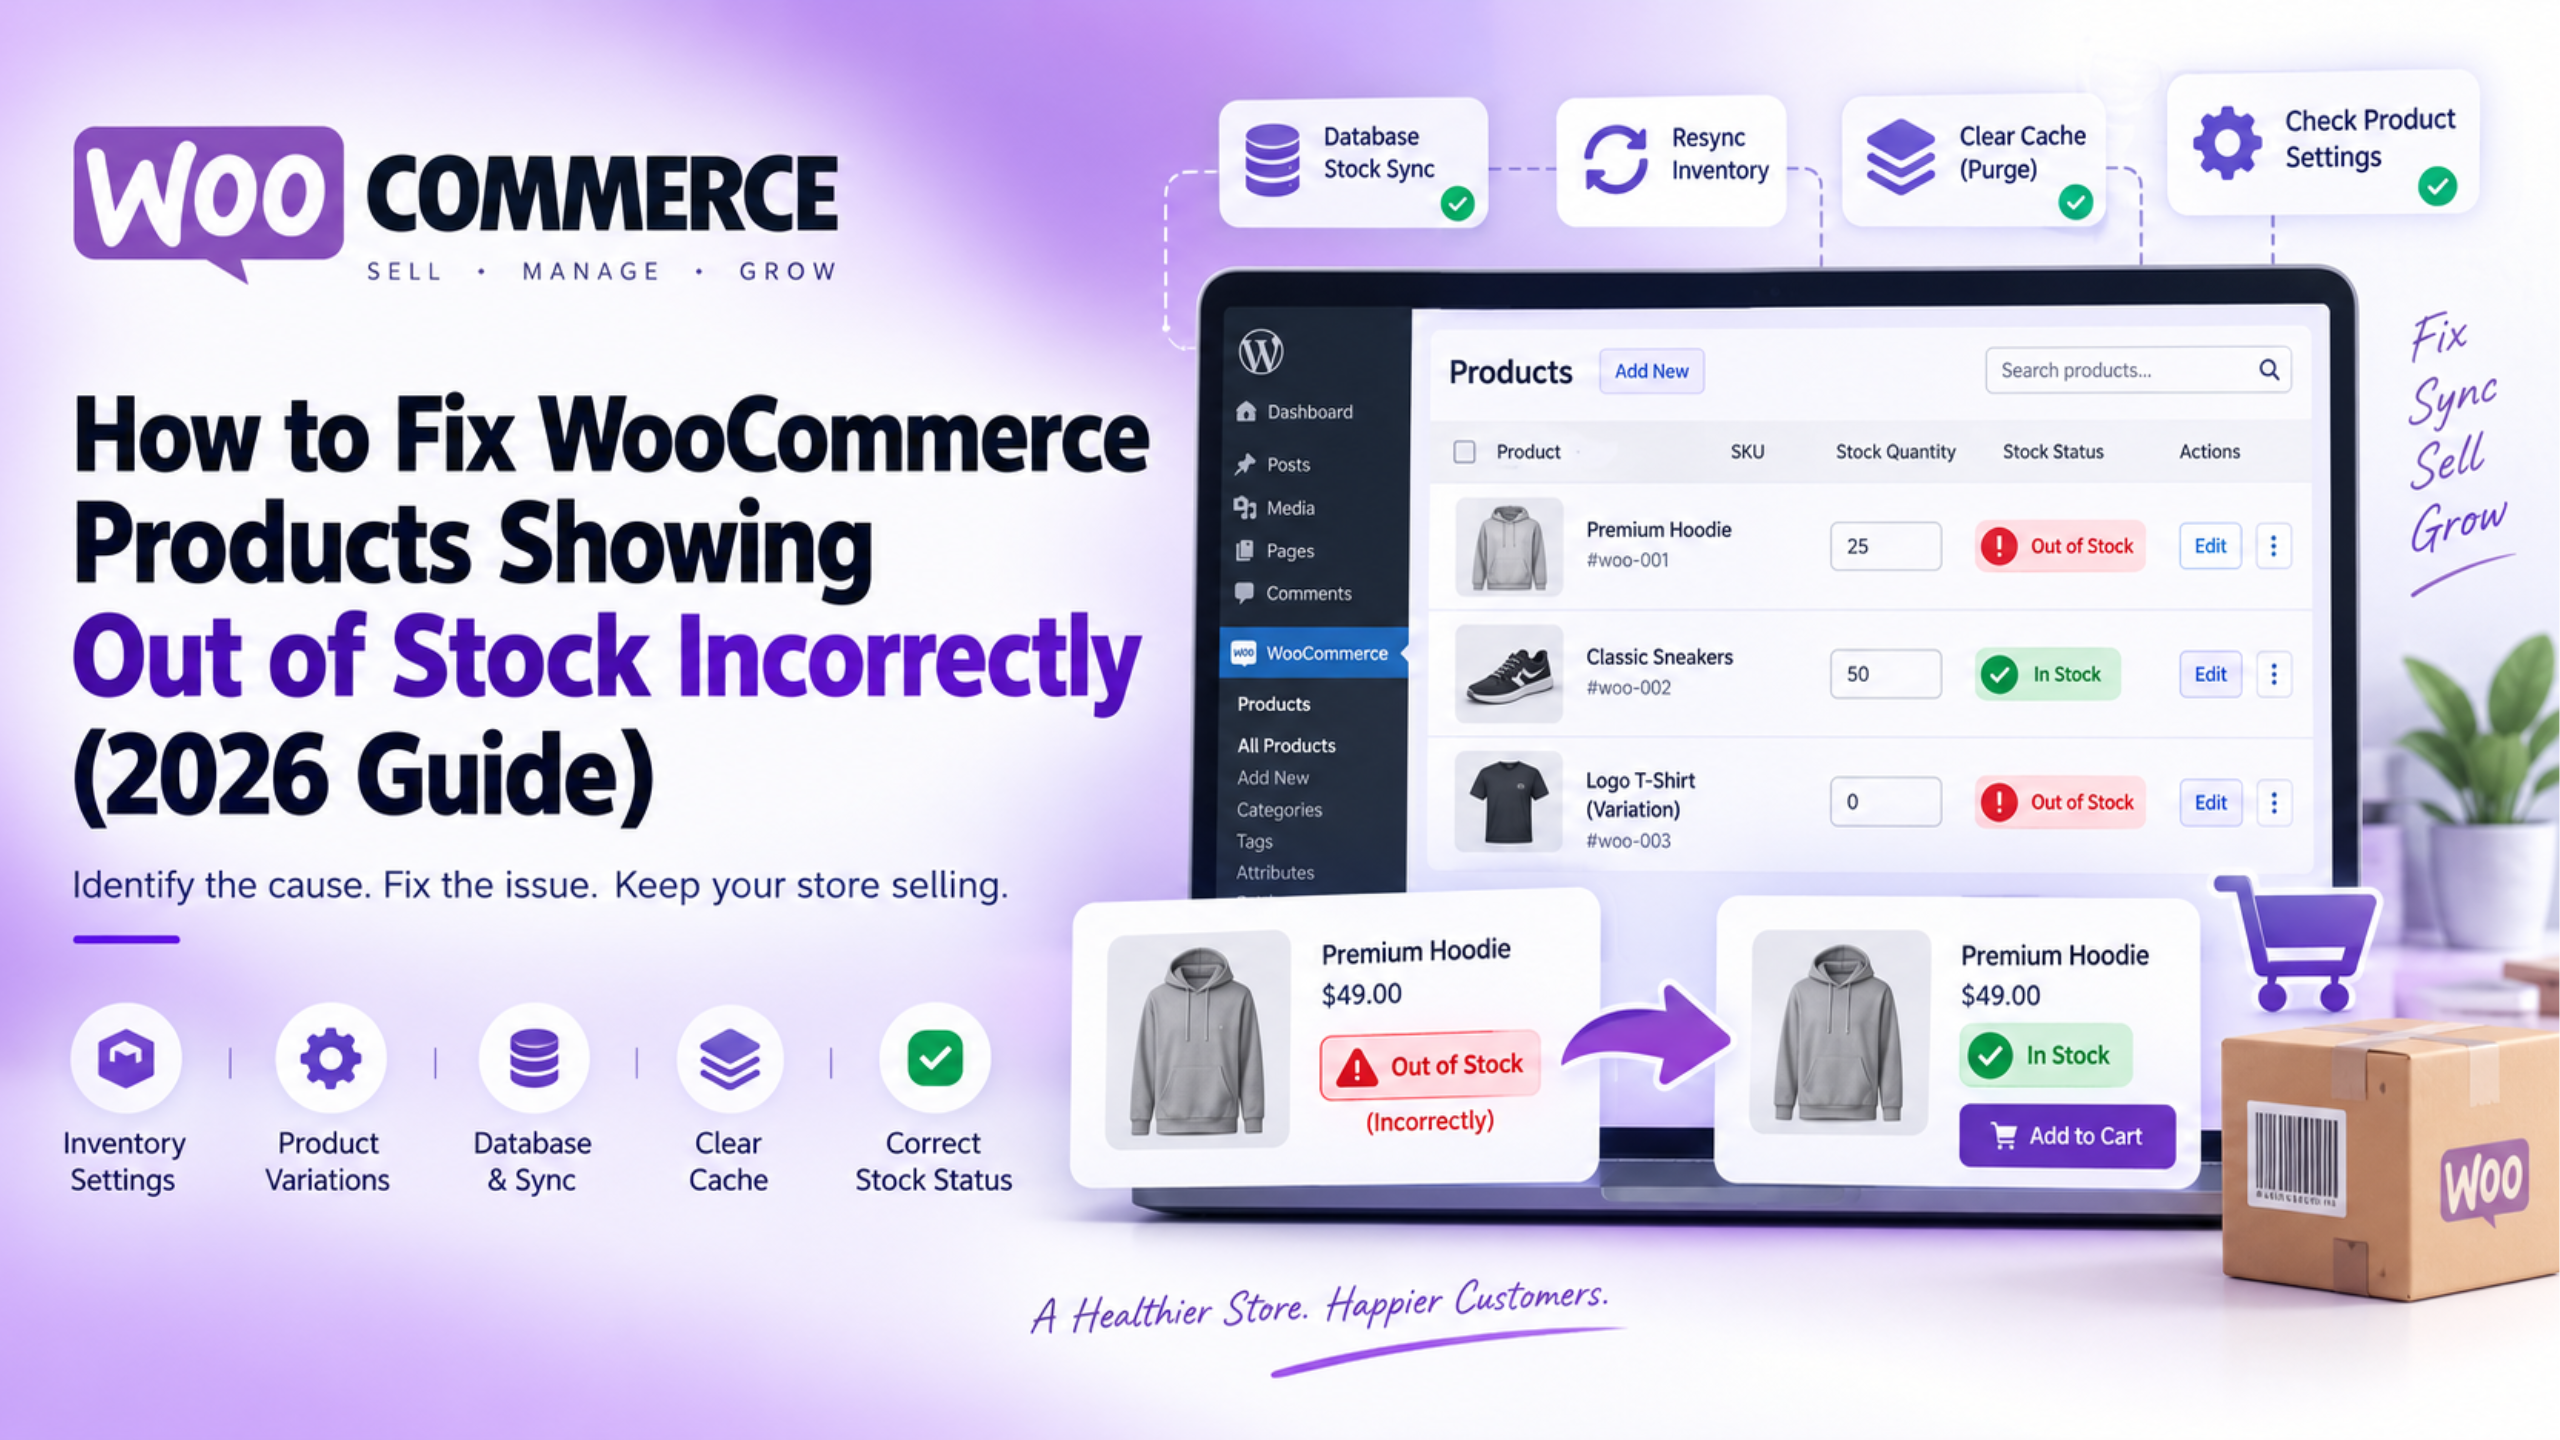
A common WooCommerce problem happens when a product has available inventory, but customers still see an out-of-stock message. This issue is often described as WooCommerce products showing out of stock when they are not. The physical inventory may be available in your warehouse, yet the website prevents customers from purchasing it. This creates a direct gap between your actual stock and WooCommerce product availability.
At first, the problem may look like a simple quantity error. However, WooCommerce uses several data points to decide whether a product can be purchased. It checks stock quantity, stock status, inventory settings, product variations, and stored product data. Caching and third-party inventory tools can also affect the final result shown to customers.
Because several systems work together, changing the quantity alone may not solve the issue. The first step is understanding how WooCommerce handles inventory behind the scenes. Once you understand that process, finding the incorrect data becomes much easier.
How WooCommerce Manages Product Inventory
WooCommerce mainly uses stock quantity and stock status for inventory management. These values are related, but they serve different purposes. Stock quantity shows how many units are currently available for sale. Stock status tells WooCommerce whether customers should be allowed to purchase that product.
For example, a product may have 40 units available in inventory. If the stock status is correctly set to “In stock,” customers can normally purchase it. However, if the status remains “Out of stock,” WooCommerce may still block purchases. This can happen even when the quantity field contains a positive number.
WooCommerce also includes the Manage stock setting. When this option is enabled, WooCommerce tracks product quantity automatically. Stock can decrease when orders are placed and increase after certain cancellations or restocking actions. When stock management is disabled, WooCommerce relies more heavily on the manually selected stock status.
This difference is important during troubleshooting. A store owner may enter 100 units into the quantity field and expect the product to become available. However, if stock management is disabled and the status remains unavailable, customers can still see an out-of-stock message.
Understanding WooCommerce Stock Data Behind the Scenes
WooCommerce stores most product inventory information inside the WordPress database. Several metadata values work together to control stock behavior. Important fields include _stock, _stock_status, and _manage_stock. These values help WooCommerce decide how the product should behave on the frontend.
The _stock field normally stores the available quantity. The _stock_status field stores values such as in stock, out of stock, or backorder. The _manage_stock setting tells WooCommerce whether quantity tracking should be handled automatically. When these values agree, product availability usually works correctly.
Problems begin when one value changes without the related values updating. For example, an import process may change the quantity from zero to 25. However, the stock status may remain set as out of stock. WooCommerce then has two pieces of inventory data describing different product conditions.
This type of mismatch may happen after product imports, bulk edits, custom code changes, or third-party inventory updates. Warehouse software and ERP systems can also create similar problems when synchronization fails. Understanding these database values helps explain why the product editor and customer-facing page can sometimes show different information.
How Product Lookup Data Affects Stock Display
WooCommerce also uses optimized lookup data to improve product catalogue performance. One important database table is commonly named wp_wc_product_meta_lookup. Your actual table prefix may be different, but the table serves the same purpose. WooCommerce uses this lookup data to retrieve common product information more efficiently.
This becomes important when shop pages behave differently from product pages. The product editor may show the correct stock quantity and status. The individual product page may also appear correct. However, the shop or category page can still show outdated availability when lookup information becomes unsynchronized.
This problem can appear after large imports, database migrations, bulk updates, or failed background processes. In these cases, changing the product quantity again may not fix the catalogue display. WooCommerce may need its product lookup information regenerated so all product data matches again.
If your shop page is missing several products completely, the issue may also involve catalogue visibility or product queries. Our guide on WooCommerce shop page not showing products explains other common reasons behind missing catalogue items.
How WooCommerce Decides Whether a Product Is Available
WooCommerce does not use one single check before showing product availability. It evaluates several conditions before deciding whether customers can purchase an item. These checks include stock management, available quantity, stock status, backorder settings, stock thresholds, and product type.
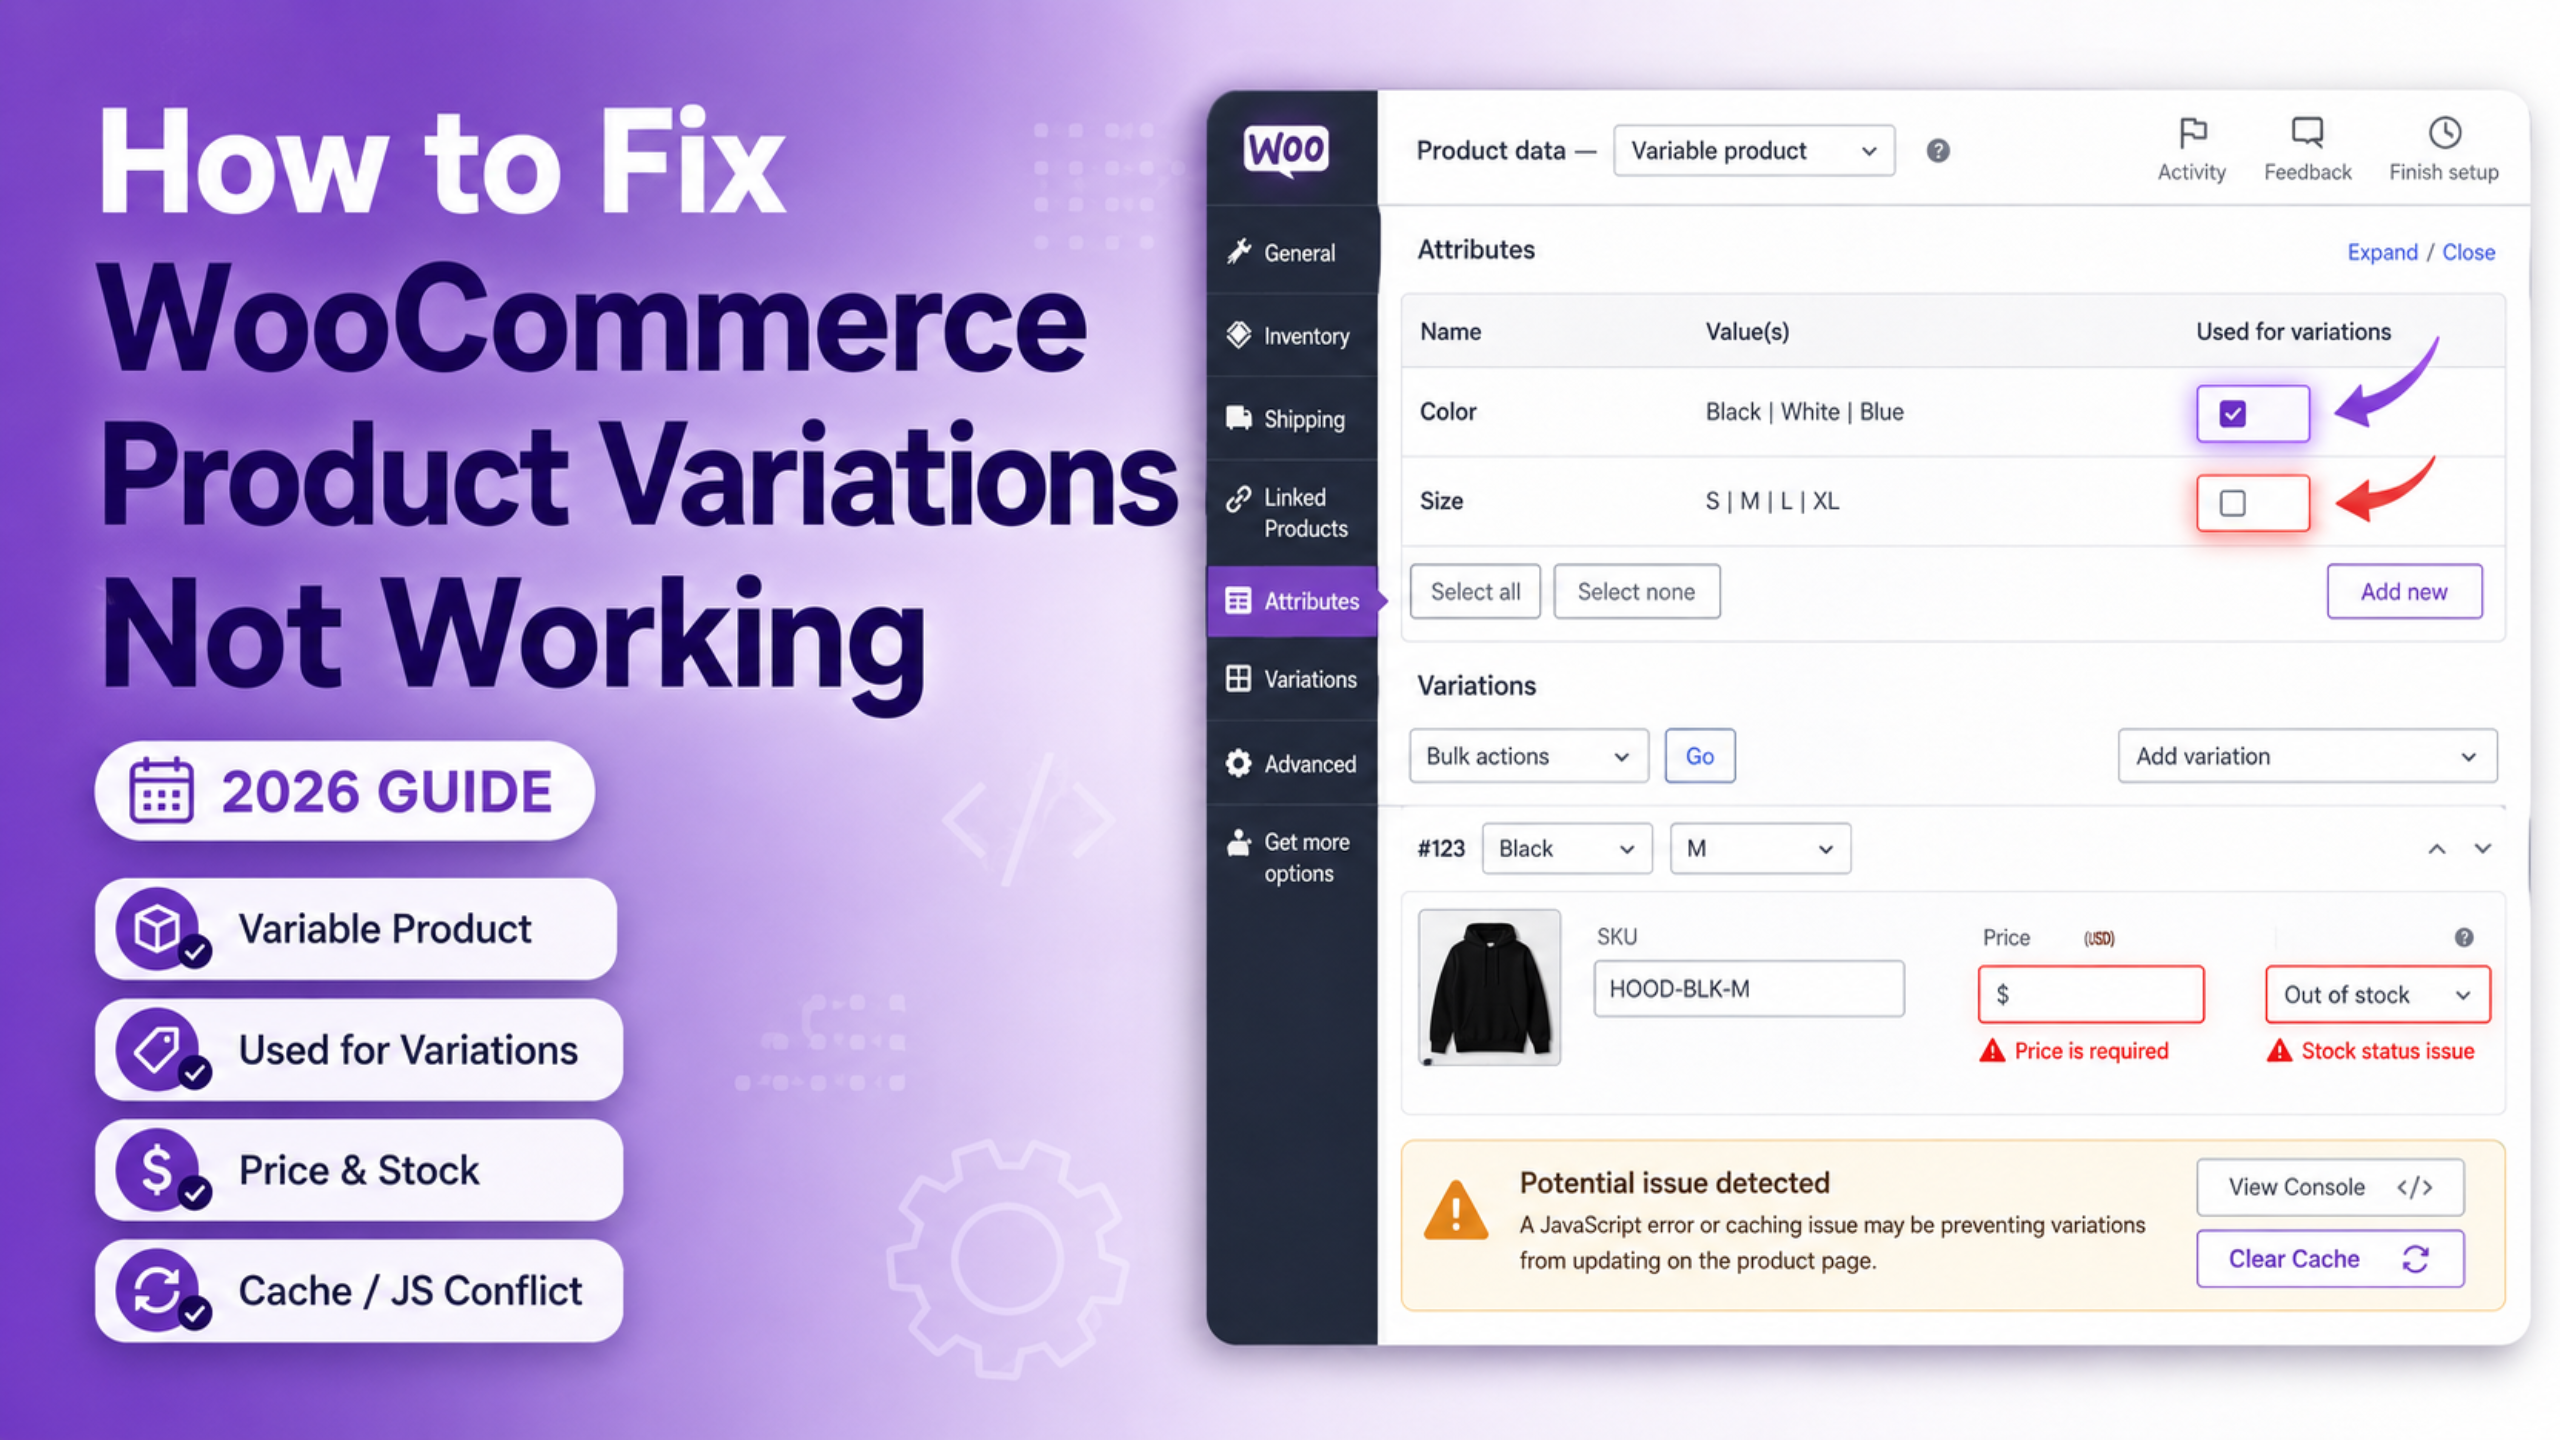
The process becomes more detailed for variable products. Each variation can have its own quantity and stock status. A parent product may appear available, while one particular size or color remains unavailable. WooCommerce checks the selected variation before allowing that customer to continue with the purchase.
For example, a shirt may have three sizes available. Small and medium may each have ten units remaining. Large may have zero units and an out-of-stock status. Customers choosing large will see an unavailable message, while other sizes remain purchasable.
If variation stock behaves incorrectly, checking only the parent product will not reveal the problem. Each variation must be reviewed separately. You can also read our guide about WooCommerce product variations not working for more variation-specific troubleshooting.
Why Finding the Root Cause Matters
When WooCommerce products showing out of stock when they are not becomes a problem, changing random settings can make troubleshooting harder. The incorrect information may come from product settings, database metadata, lookup data, caching, or an external inventory system. Each cause requires a different solution.
For example, increasing quantity will not solve an outdated cache problem. Regenerating lookup tables will not fix an external ERP system sending incorrect stock values. Clearing cache will also not correct a variation that genuinely has the wrong inventory setting. The solution must match the layer where the error begins.
A better approach is to understand how WooCommerce stores and reads inventory data first. Then compare the product editor, product page, shop page, and customer view. This structured process helps identify the problem faster and reduces the risk of changing healthy product data.
What Causes WooCommerce Products Showing Out of Stock Incorrectly?
When WooCommerce products showing out of stock when they are not happens, the reason is usually related to incorrect inventory data, configuration problems, or synchronization issues. WooCommerce depends on multiple settings and database values to determine whether customers can purchase a product. A small mismatch between these systems can create incorrect availability messages.
Finding the exact cause is important before making any changes. Many store owners immediately update product quantities when they notice an incorrect stock message. However, the real problem may exist somewhere else, such as product status, caching, database synchronization, or a third-party integration.
Understanding the common causes helps you identify the right solution faster. Each issue affects WooCommerce inventory differently, so the troubleshooting process should focus on finding where the incorrect information begins.
Incorrect WooCommerce Stock Threshold Settings
One of the most common reasons behind WooCommerce products showing out of stock incorrectly is an incorrect stock threshold setting. WooCommerce includes an inventory option that allows store owners to decide when products should be marked as unavailable.
Many store owners expect WooCommerce to mark a product as out of stock only when inventory reaches zero. However, the stock threshold value can change this behavior. If the threshold is set higher than zero, WooCommerce may consider a product unavailable while some inventory still exists.
For example, imagine a product has five units available. If the out-of-stock threshold is also set to five, WooCommerce may treat that product as unavailable. The product quantity is not empty, but the configured rule prevents further purchases.
This setting is useful for businesses that maintain safety stock. However, an incorrect threshold value can hide products that customers should still be able to purchase. Always review the inventory threshold before changing individual product settings.
Stock Management Is Disabled for Products
Another common cause is disabled product-level stock management. WooCommerce allows store owners to decide whether inventory should be tracked automatically or controlled manually.
When stock management is enabled, WooCommerce monitors product quantities and updates availability automatically. When customers purchase products, the available quantity decreases. When inventory is restored, WooCommerce can update the stock status again.
However, when stock management is disabled, WooCommerce does not use the quantity field in the same way. The manually selected stock status becomes more important. A product can have a quantity value but still appear unavailable if the stock status remains set incorrectly.
This problem often appears after bulk product updates, CSV imports, or migration processes. Some tools update inventory numbers but fail to update related stock settings. As a result, WooCommerce receives incomplete product information.
Variable Product and Variation Stock Problems
Variable products require extra attention because every variation can have its own inventory settings. WooCommerce does not only check the main product. It also checks the specific variation selected by the customer.
For example, a clothing product may include different sizes and colors. The parent product may show as available because some inventory exists. However, one specific variation may have zero stock and display an unavailable message.
Each variation stores separate information, including stock quantity, stock status, and backorder settings. A mistake in one variation can affect only that option while other variations continue working normally.
If you manage products with multiple options, review each variation individually. Issues with variations are often missed because store owners check only the main product settings. You can also read our detailed guide about WooCommerce product variations not working for more troubleshooting information.
Product Database Information Becomes Unsynchronized
WooCommerce stores product inventory information in different database locations. Normally, these values remain synchronized automatically. However, changes from external tools or custom processes can sometimes create mismatched inventory data.
For example, a product may have a quantity value showing 25 units. At the same time, the stock status value may still indicate that the product is unavailable. WooCommerce then receives conflicting information about the same product.
This problem can occur after website migrations, database updates, bulk imports, or custom development changes. It can also happen when a plugin modifies product data without updating all connected inventory fields.
Database synchronization problems are harder to identify because the product may look correct from the WordPress dashboard. However, the customer-facing website may still display the wrong availability status.
WooCommerce Cache Displays Old Product Information
Caching is another major reason behind incorrect product availability. WooCommerce stores often use different caching systems to improve website speed and performance.
These caching layers may include WordPress cache plugins, hosting cache, CDN cache, and object cache systems. While caching improves loading speed, it can also display older product information if updates are not refreshed correctly.
For example, you update a product from out of stock to available. The database now contains the correct information. However, customers may still see the previous cached version of the page.
This problem is common because administrators may see the updated version while visitors see cached content. Testing the website in private browsing mode helps identify whether caching is causing the problem.
Inventory Synchronization Plugin Errors
Many WooCommerce stores connect with external inventory systems. These connections help businesses manage products across different platforms. Examples include ERP systems, warehouse software, POS systems, and marketplace integrations.
These tools automatically send inventory updates to WooCommerce. However, incorrect settings or failed synchronization processes can update products with wrong stock information.
A product may be manually fixed inside WooCommerce but become unavailable again after the next synchronization process. This usually indicates that another system is overwriting the correct inventory data.
When this happens, checking the external integration logs is important. The source system sending incorrect data needs to be identified and corrected.
Plugin Conflicts and Custom Code Issues
WooCommerce allows plugins and custom code to modify product availability. While this flexibility is useful, it can also create unexpected stock behavior.
Some plugins control product visibility, purchasing rules, customer restrictions, or pricing conditions. These changes can affect whether WooCommerce considers a product available for purchase.
Examples include membership plugins, wholesale solutions, subscription extensions, and custom product rule systems. A plugin may hide the Add to Cart button even when inventory exists.
Custom code added to themes or plugins can create similar problems. Testing plugins carefully on a staging website helps identify whether another component is changing WooCommerce stock behavior.
Pending Orders and Temporary Stock Holds
WooCommerce can temporarily reserve inventory for unpaid orders. This feature helps prevent multiple customers from purchasing the same limited stock item.
When many customers start checkout but do not complete payment, available inventory may be temporarily reduced. For products with limited stock, this can create unexpected availability messages.
The reserved inventory is normally released after the configured hold period expires. However, incorrect settings or failed background tasks can affect this process.
Reviewing pending orders and stock settings can help identify whether temporary reservations are causing availability problems.
Understanding the Main Cause Before Fixing the Issue
There are many reasons behind WooCommerce products showing out of stock when they are not. The problem may come from simple settings or deeper technical issues involving databases and integrations.
The most effective approach is checking each possible layer carefully. Start with product settings, then review variations, database values, caching systems, and external connections.
Once the actual cause is identified, the correct fix becomes much easier. This prevents unnecessary changes and keeps your WooCommerce inventory system working correctly.
How to Identify WooCommerce Products Showing Out of Stock Incorrectly
Before applying any fix, you should identify where the problem begins. Many store owners change stock quantities immediately after seeing an error. However, WooCommerce products showing out of stock when they are not can happen for several different reasons. The problem may come from product settings, variation data, caching, database records, or an external stock system.
A structured diagnosis saves time and reduces unnecessary changes. Instead of changing multiple settings together, check each inventory layer separately. This makes it easier to find the exact source and apply the correct solution without affecting other products.
Check the Product Inventory Settings First
Start with the affected product inside the WordPress dashboard. Go to Products → All Products, then open the product for editing. In the Product Data section, select the Inventory tab and review the current settings carefully.
Check whether Manage stock is enabled and confirm the available quantity. Also review the stock status and backorder settings. These values should match your real inventory and your store’s stock policy.
For example, a product may show 40 available units while the stock status remains “Out of stock.” This is a clear sign that the stored quantity and product availability are not matching. If stock management is disabled, WooCommerce may depend mainly on the manual stock status instead.
After reviewing these fields, compare them with your actual warehouse or supplier inventory. This first check often reveals simple configuration errors before deeper troubleshooting becomes necessary.
Check the Global Out-of-Stock Threshold
The next step is checking the global inventory threshold. Go to WooCommerce → Settings → Products → Inventory and locate the Out Of Stock Threshold setting. This value tells WooCommerce when managed inventory should become unavailable.
Suppose a product has three units remaining and the threshold is set to three. The product may be treated as unavailable even though physical stock still exists. This can look like a stock error when the system is actually following the configured rule.
Compare the threshold with the affected product quantity before changing anything. Some businesses intentionally keep safety stock and should not use zero. The correct value depends on how your store handles limited inventory.
Compare the Product Page With Shop and Category Pages
Now compare how the product appears across different frontend locations. Open the individual product page first, then check the same item on your shop page and category archive. You should also check the site search results if the product appears there.
If all locations show the same incorrect status, the problem probably begins with product data. If the single product page is correct but the shop page is wrong, investigate lookup data or caching. This difference gives you an important clue about which layer is failing.
If several products are missing from catalogue pages, you may also have a wider visibility issue. Our guide on WooCommerce shop page not showing products covers related catalogue problems in more detail.
Test the Store as a Logged-Out Customer
Always test the affected product from a customer view. Logged-in administrators may bypass page caching and sometimes receive different content. This can make the product look correct while regular visitors still see old stock information.
Open a private browsing window and visit the product again. You can also use another browser or mobile device for comparison. Check the stock message, Add to Cart button, variation options, and product visibility.
If the product works for administrators but fails for logged-out visitors, caching should become a major suspect. In that case, review plugin cache, hosting cache, CDN cache, and object cache before changing inventory data again.
Review Variable Product Inventory Separately
Variable products need a deeper check because each variation can store different stock information. Open the product editor and go to the Variations section. Expand the exact variation that customers report as unavailable.
Check its stock quantity, stock status, Manage stock option, and backorder setting. Also confirm that the variation itself is enabled. A parent product can appear healthy while one child variation contains incorrect data.
For example, medium and large sizes may have available stock. However, the small size may still have an out-of-stock status after restocking. Customers choosing that variation will see an unavailable message even when other options work.
For deeper variation troubleshooting, read our guide on WooCommerce product variations not working.
Review WooCommerce System Status and Logs
WooCommerce includes built-in diagnostic tools that can reveal hidden problems. Go to WooCommerce → Status and review the System Status information. Look for database warnings, failed updates, outdated templates, server problems, or extension conflicts.
Next, open WooCommerce → Status → Logs and review recent log files. Look for errors related to imports, stock synchronization, REST API calls, background tasks, or inventory plugins. Pay close attention to timestamps near the moment the product became unavailable.
If stock problems begin after a scheduled import or sync task, the logs may help identify the source. This is especially useful when products become incorrect again after you manually fix them.
Check Scheduled Actions and Background Tasks
WooCommerce and many extensions use scheduled actions for background processing. Inventory synchronization tools can also use these tasks to update stock automatically. A failed or repeated action may create incorrect product availability.
Review scheduled actions from the WooCommerce status area when available. Look for failed tasks, repeated stock updates, delayed imports, or actions connected with inventory plugins. A recurring task can explain why the same product keeps returning to an out-of-stock state.
Do not simply delete failed actions without knowing their purpose. First identify which extension created them and why they are failing. This helps prevent the issue from returning after the next scheduled run.
Inspect WooCommerce Database Stock Values
Advanced users can inspect product stock values directly inside the database. WooCommerce product inventory commonly uses metadata such as _stock, _stock_status, and _manage_stock. These values should represent the same product condition.
For example, _stock may contain 25 while _stock_status still contains “outofstock.” This mismatch can explain why the product appears unavailable despite having quantity. It may also indicate an incomplete import, failed synchronization, or custom code problem.
Database inspection should mainly be used for diagnosis. Avoid changing values manually unless you understand WooCommerce data handling. Direct database edits can bypass related updates and create further synchronization problems.
Check External Inventory and Integration Logs
If your store uses ERP, POS, supplier, warehouse, or marketplace software, check those systems too. External platforms can update WooCommerce stock without manual input. A product may therefore look correct after your fix and become unavailable again later.
Review the integration logs and compare the last synchronization time. Check the stock quantity and status being sent to WooCommerce. If the external source contains wrong inventory information, fixing WooCommerce alone will only provide a temporary solution.
The source system must send correct stock data consistently. Otherwise, the next synchronization may overwrite your changes again.
Why Proper Diagnosis Makes the Fix Easier
Diagnosing WooCommerce products showing out of stock when they are not should follow a clear order. Start with product settings, then check thresholds, variations, customer views, logs, and external systems. Move into database checks only when simpler checks do not reveal the problem.
This approach helps you understand which WooCommerce layer contains incorrect information. Once you find that layer, you can apply a targeted fix instead of changing unrelated settings. That reduces troubleshooting time and protects healthy product data across your store.
How to Fix WooCommerce Products Showing Out of Stock Incorrectly
After identifying the reason behind the problem, the next step is applying the correct solution. Fixing WooCommerce products showing out of stock when they are not requires a careful approach because different causes need different solutions. A product setting problem cannot be fixed the same way as a database synchronization issue or a caching problem.
Before making any changes, create a complete website backup. For larger stores, it is better to test fixes on a staging website first. Inventory data directly affects customer purchases, so testing changes safely helps prevent additional problems.
The following solutions cover the most common causes and provide a structured way to restore correct product availability.
Correct the Product Stock Settings
The first solution is checking and correcting the product inventory settings. Open the affected product from the WordPress dashboard and go to the Inventory section. Review the stock quantity, stock status, Manage stock option, and backorder settings.
If the product has available inventory, make sure the stock status allows purchases. When stock management is enabled, WooCommerce should automatically control availability based on quantity changes.
For products with manual stock control, update the stock status manually. A product can contain inventory but remain unavailable if the status was not updated correctly.
After saving the changes, open the product page as a customer and verify that the Add to Cart button appears correctly.
Fix the WooCommerce Stock Threshold Setting
If the product settings look correct, review the global inventory threshold. Go to WooCommerce → Settings → Products → Inventory and check the Out Of Stock Threshold value.
This setting controls when WooCommerce considers a product unavailable. A high threshold value can make products appear out of stock before the actual inventory reaches zero.
For example, if a product has five units available and the threshold is also five, WooCommerce may treat the product as unavailable. Adjust this setting according to your business requirements.
Do not change the threshold without understanding your inventory process. Some stores intentionally use safety stock levels to avoid overselling.
Update Incorrect Product Stock Status
Sometimes the product quantity is correct, but the stored stock status is incorrect. This is one of the most common reasons behind WooCommerce products showing out of stock when they are not.
Open the product editor and check the stock status field. If the product is available, update the status to the correct option and save the changes.
For a small number of products, manual updates are usually enough. However, stores with hundreds of affected products should investigate why the status became incorrect before making bulk changes.
Bulk updates can quickly change many products, but they should always be tested carefully. Incorrect bulk changes can affect your entire catalogue.
Repair Variable Product Inventory
Variable products require separate inventory checks because each variation can contain different stock information. Updating the main product does not always update individual variations.
Open the product editor and select the Variations section. Review each variation and confirm the quantity, stock status, and Manage stock settings.
For example, a product may have available stock in medium and large sizes. However, the small size may still contain an incorrect out-of-stock status.
Correcting the affected variation usually resolves the issue. If you manage many variable products, regular variation checks can prevent repeated availability problems.
For additional troubleshooting, you can read our guide on WooCommerce product variations not working
Regenerate WooCommerce Product Lookup Tables
WooCommerce uses lookup tables to improve product query performance. These tables help shop pages and product listings load information faster.
Sometimes product information changes correctly, but lookup data does not update immediately. This can create a situation where the product page works properly, but shop pages still show incorrect availability.
To repair this issue, go to:
WooCommerce → Status → Tools
Find the product lookup table regeneration option and run the process. This rebuilds the stored product information and helps WooCommerce synchronize catalogue data.
After regeneration, clear your website cache and test the product again. This step is especially useful when individual product pages and catalogue pages show different stock information.
Clear WooCommerce Cache and Transient Data
Caching problems can make corrected products appear unavailable. After changing inventory information, clear all relevant cache layers.
Check your WordPress caching plugin, hosting cache, CDN cache, and object cache if your website uses one. Each layer can store previous product information.
WooCommerce also stores temporary data called transients. These temporary records help improve performance but may sometimes contain outdated information.
Clear WooCommerce transients from the WooCommerce tools section. Then test the product from a private browser window to confirm customers see the updated version.
Check Inventory Synchronization Systems
Many WooCommerce stores use external inventory systems to manage stock. These systems automatically send product updates to WooCommerce.
Examples include ERP software, warehouse management systems, POS platforms, and marketplace connections.
If the product becomes unavailable again after fixing it, an external system may be overwriting the correct information. In this situation, WooCommerce may not be the source of the problem.
Review synchronization logs and check the last update received from the external system. The original inventory source must send correct stock data to prevent the problem from returning.
Resolve Plugin and Theme Conflicts
Plugins and themes can change how WooCommerce handles product availability. Some extensions add custom rules that affect whether customers can purchase products.
Common examples include membership plugins, wholesale systems, subscription extensions, and product restriction tools.
To test conflicts, create a staging copy first. Disable plugins one by one and check whether the stock issue disappears.
Also test the website using a default WooCommerce-compatible theme. If the problem disappears, custom theme code or a plugin may be affecting product availability.
For more WooCommerce troubleshooting guides, visit our WooCommerce error and solution articles
Review Database Stock Information Carefully
Advanced users can inspect database values when normal troubleshooting does not identify the issue. WooCommerce stores important inventory information through product metadata.
Important fields include _stock, _stock_status, and _manage_stock. These values should represent the same product condition.
For example, a product may have a quantity of 30 but contain an out-of-stock status. This indicates that the inventory data is not synchronized correctly.
Database inspection is useful for finding problems. However, direct database editing should be avoided unless you understand WooCommerce data relationships. Incorrect changes can create larger inventory problems.
Test the Complete Purchase Process
After applying fixes, test the complete customer journey. Do not check only the product page.
Review the product page, shop page, category page, Add to Cart button, cart page, and checkout process.
Also test the product while logged out. Customers may experience different results because of caching or account-based settings.
If you also experience checkout-related problems, our guide on testing WooCommerce checkout and payments
can help you verify the complete purchase flow.
Verify the Fix Before Returning to Normal Operations
Fixing WooCommerce products showing out of stock when they are not requires proper testing after every change. A product may appear corrected in the dashboard but still fail for customers.
Confirm that the product is visible, purchasable, and displays the correct availability status. For stores with large catalogues, monitor other products after applying major inventory changes.
A careful repair process restores accurate inventory information and helps prevent the same issue from affecting customers again.
How to Prevent WooCommerce Products Showing Out of Stock Incorrectly
Fixing WooCommerce products showing out of stock when they are not is important, but preventing the problem is even better. A well-maintained WooCommerce store reduces inventory errors and helps customers see accurate product availability.
Most stock issues happen because of incorrect settings, outdated data, failed updates, caching problems, or synchronization errors. A regular maintenance routine helps identify these problems before they affect customers.
A reliable inventory process does not only focus on product quantity. It also monitors stock settings, database accuracy, integrations, and website performance. These steps help keep WooCommerce inventory information consistent.
Maintain Correct WooCommerce Inventory Settings
The first prevention step is keeping WooCommerce inventory settings properly configured. Review important settings regularly and make sure they match your store requirements.
Check options such as stock management, out-of-stock threshold, backorder settings, and stock visibility preferences. These settings directly affect how WooCommerce displays product availability.
A small configuration change can impact hundreds of products. For example, increasing the stock threshold accidentally may cause available products to appear unavailable.
Keep a record of your inventory settings after configuration. This makes it easier to identify unexpected changes during future troubleshooting.
Perform Regular Product Inventory Reviews
Regular inventory checks help identify incorrect product statuses before customers report problems. Do not rely only on customer complaints to discover stock errors.
Review your product catalogue regularly and look for items marked unavailable unexpectedly. Compare WooCommerce stock information with your actual inventory records.
This process is especially important for stores with large product catalogues. Hundreds of products can be affected by a small synchronization or configuration problem.
A simple weekly inventory review can help detect issues early. Finding a problem quickly reduces the chance of losing potential sales.
Test Updates Before Applying Them on Live Stores
WooCommerce updates improve security, performance, and compatibility. However, updates can sometimes affect product behavior when plugins or themes are not fully compatible.
Always test major updates on a staging website before applying them to your live store. This allows you to check whether inventory functions continue working correctly.
After updates, test important ecommerce actions. Review product pages, stock status, variations, Add to Cart buttons, and checkout functionality.
If you want to verify your complete purchase process, you can also follow our guide on testing WooCommerce checkout and payments
Monitor Inventory Synchronization Systems
Many WooCommerce stores depend on external systems for inventory management. These connections save time but require regular monitoring.
ERP systems, warehouse platforms, POS tools, and marketplace integrations can update product information automatically. If these systems send incorrect data, WooCommerce availability can become inaccurate.
Check synchronization logs regularly and confirm that external systems update both quantity and stock status correctly.
A reliable synchronization process prevents repeated issues where products become unavailable after manual fixes.
Use Safe Product Import and Export Processes
Product imports are useful for managing large catalogues. However, incorrect import files can create widespread inventory problems.
Before importing products, review important fields such as SKU, stock quantity, stock status, and stock management settings. Incorrect values in these fields can affect many products at once.
Always test large imports on a staging website first. This allows you to confirm that product availability remains correct before updating your live store.
A controlled import process protects your catalogue and reduces unnecessary stock errors.
Configure Cache Systems Correctly
Caching improves website speed, but incorrect cache settings can create outdated product information. Ecommerce websites require careful cache management because inventory changes frequently.
Review your cache plugin, hosting cache, CDN settings, and object cache configuration. Make sure dynamic WooCommerce pages are handled correctly.
Important pages such as cart, checkout, and account pages should not serve outdated information. Product availability should refresh properly after stock updates.
After major inventory changes, clear cache and test the website from a customer perspective.
Keep WooCommerce, Plugins, and Themes Updated
Outdated software can create compatibility issues that affect product availability. WooCommerce works together with WordPress, themes, and many extensions.
Keep your WooCommerce installation, WordPress version, plugins, and themes updated. Before updating, check whether extensions support your current WooCommerce version.
Remove unused plugins because they can create unnecessary conflicts. A clean website environment makes troubleshooting easier and improves overall stability.
Monitor Stock Changes and Product Activity
Tracking inventory changes helps identify unexpected stock updates. When a product changes from available to unavailable, you should know what caused that change.
Useful information includes the product name, previous stock value, new stock value, user activity, and update source. This information makes troubleshooting much faster.
If an external integration changes product data incorrectly, activity records can help identify the responsible system.
Monitoring stock activity turns inventory problems into easier-to-track events instead of confusing errors.
Create Regular Website Backups
Inventory data is one of the most valuable parts of an online store. A backup strategy protects your products, orders, and customer information.
Create regular backups of your website files and database. Always create a fresh backup before major updates, imports, or troubleshooting changes.
If an inventory issue occurs after a change, a backup gives you a safe recovery option.
A reliable backup process provides confidence when managing WooCommerce stores.
Final Thoughts on WooCommerce Stock Availability Issues
WooCommerce products showing out of stock when they are not is usually caused by incorrect settings, outdated information, caching problems, or synchronization failures. Understanding how WooCommerce manages inventory makes these problems easier to solve.
The best approach is to maintain accurate product settings, monitor inventory changes, test updates safely, and review connected systems regularly. Prevention reduces the chance of customers seeing incorrect availability messages.
A healthy WooCommerce store requires more than keeping products in stock. It requires accurate communication between inventory data, website features, and customer-facing pages.
By following proper maintenance practices, you can keep product availability reliable and provide customers with a smoother shopping experience.
Need Help Troubleshooting WooCommerce Inventory Issues?
Inventory problems can become difficult when multiple systems are involved. Issues related to product data, database synchronization, caching, plugins, or integrations may require deeper technical investigation.
A proper WooCommerce troubleshooting process focuses on finding the real cause instead of applying temporary fixes. This helps protect your store data and prevents the same issue from returning.
For more WooCommerce troubleshooting resources, explore ourWooCommerce guides and technical solutions